Preserving Old Family Photos
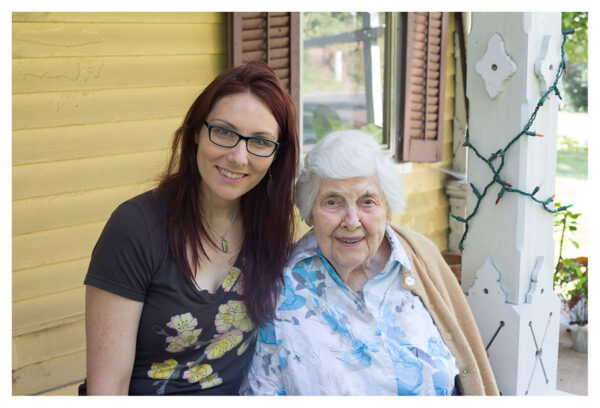
Let’s first assume that if you are reading this post that I don’t need to persuade you of the value/importance in keeping at least some printed family photos for posterity’s sake.
So next, why does it matter exactly how we treat old photographs?
For starters, depending on the environment, it’s quite easy for photographs to break, fade, peel, flake, curl, stick to things, color change, and ultimately be destroyed. Now when it comes to museums or people’s private art collections, there is a whole profession in photograph conservation that people can decide to pursue and really get technical about how to best preserve a print. However, for most of us, hiring a personal photo conservator for old family snapshots is just not an option.
Luckily there are a number of things that we can do ourselves to help protect our family memories to ensure they can continue to be passed down through the generations.
1. Preservation 101: Protection from the Elements
Ok so let’s get to the environmental bad guys of the photographic world. Temperature, relative humidity, light, and air quality all play a part in how a print stays in good shape or deteriorates into oblivion.
Temperature: Ideally, you’re going to want to keep prints and photographic material below 75°F. The cooler the temperature, the more likely you can help slow down the chemical decay and deterioration process, and even the potential for insect activity. Fun fact: According to the Northeast Document Conservation Center, the NDCC, the rate of deterioration, is approximately doubled with each increase in temperature of 18°F.
Relative Humidity: The sweet spot for this is below 50-65% to prevent mold growth, but above 15-30% to avoid images getting to brittle. (Yeah, I know, keeping anything below 65% humidity in Florida is a joke, but I’m just telling you what’s ideal.)
Light: In general, light gets such a bad rap. It weakens the photo paper, chemicals, and dies so that it can bleach, yellow, shift in tone, or darken. Any exposure to light (whether it’s your photos or your skin for that matter), even for a brief time, is damaging, and the bad news is that the damage is cumulative and irreversible. However, I’m going to stand up for light for just a second here because the truth of the matter is that without it, the photographic process, in general, would never be able to exist, sooooo there’s that. But yes, limiting photographic materials to light exposure is best.
Air Quality: Air pollutants contribute heavily to deterioration, especially things like sulfur dioxide, nitrogen oxides, peroxides, and ozone, which can all lead to the formation of acid in print-based materials and well we all saw what happened to Two-Face when half of his face fell into acid…it’s not good. Also, just things like particles in the air, dust, soot, and grime (I don’t know how clean your house is) can cause abrasion or small cuts on the surface of prints, or even just cover them in grime.
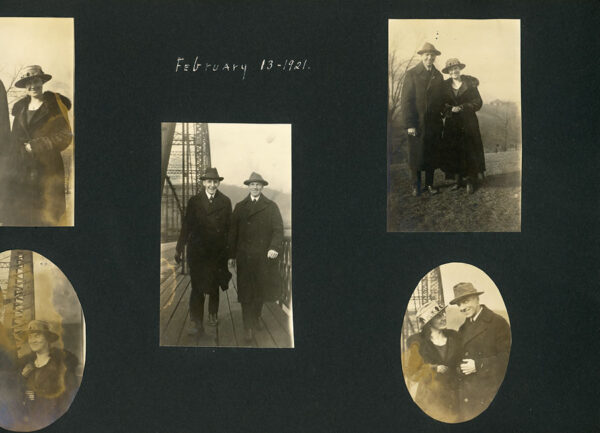
2. Identifying Different Types of Family Prints
Depending on how far back your family started keeping portraits, you may have a mixture of different print types. The earlier types are less likely of course but you never know. There are plenty of other types of photographic prints but here are the ones you might be more likely to encounter in terms of family portraits.
Salted-paper prints: These were popular from about 1840 – c. 1860. They have a matte surface on paper where the fibers are often visible. They tend to fade to pale yellow (especially at the edges).
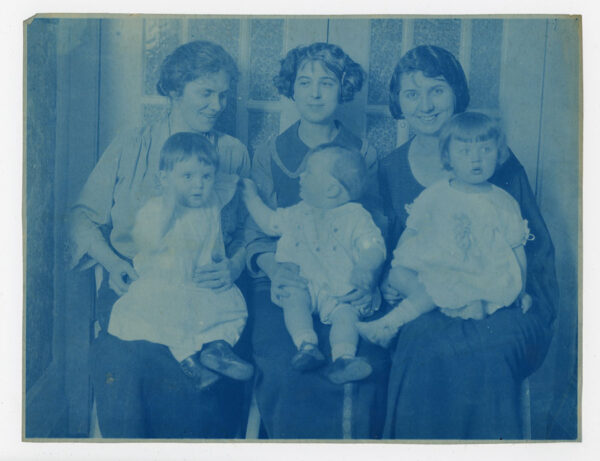
Cyanotypes: These are easy to identify because they are blue. There were popular from about 1880 – c. 1910.
Collodion prints: These were popular from the late 1880s–1920s and tend to be sepia, gold, platinum or purple in tone depending if it glossy or matte. They tend to be pretty stable, don’t fade easily, so there’s a good chance you might have one from your family. They often came mounted on like thick cardstock with a logo of the photographer or place that the photo was taken, which arguable has helped them last. The glossy (as opposed to matte finished) ones often exhibit a subtle rainbow effect on their surface when viewed under fluorescent lights.
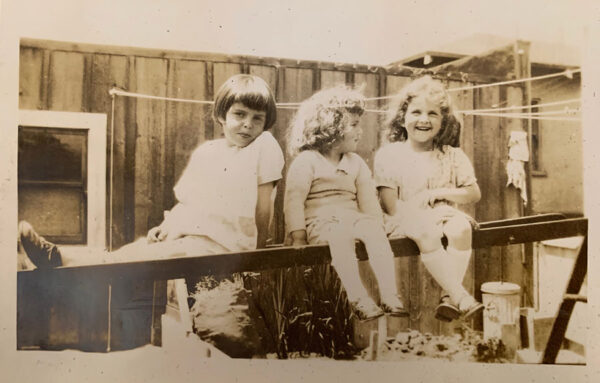
Gelatin silver prints: These are what you usually picture when thinking of black and white prints. They are made with both silver chloride (c. 1880 – c. 1910) and silver bromide (c. 1880 – present), the latter of which are the older black and white prints that you’ve seen where they get kind of what looks like a waxy sheen to them, which is called silvering. In general these types of black and white prints can last a really long time in super good shape if they are well take care of.
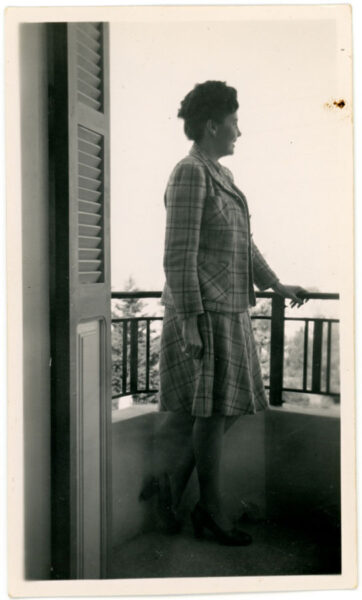
Chromogenic prints, aka silver halide prints: These are going to be pretty much any of your color prints before the 1990s when digital prints started coming into play. The bad news is these are pretty unstable. I’m sure just by looking at the framed images in your parent’s house, you are aware that they have not held up so good to light, heat, and humidity, even in the best of circumstances. Even just the writing in pen on the back of them has not done well for keeping them from deteriorating over the years. But what can you do? Save your favorites and don’t feel bad about tossing out the rest.
Polaroids: Also not awesome with achievability. Avoid touching the surface of the image. These damage fairly easily.
Digital Prints: There’s a whole handful of digital types of prints, including digital silver halide prints and ink jet prints, and they all vary in quality and archivability but I’ll just lump them all together for this purpose. In general, these can actually last much better and longer than the original color film prints as long as you are go for quality. There can be a huge difference between what you get printed at a retail store or cheap online printing company versus what a professional photographer is going to provide you.
3. Archival Storage of Prints
Okie doke, so now what? How do we take the knowledge above of the photographic print bad guys and make sure to keep our prints safe? Basically, just always keep in mind the things above and then JUST DO YOUR BEST. I mean that’s pretty much my life motto anyway but certainly when it comes to this kind of stuff. (As mentioned, I do live in Florida where we have 1000% humidity, super hot/bright sun, and rain all in the same day, every day.)
Here’s a list of things to strive for when it comes to storage. Try to hit as many of these as possible. Do the easy ones first and then set goals to meet the others:
Storage Containers/Mediums
- Make sure that album pages and other materials in direct contact with the photographs and papers are archival. I repeat, make sure that album pages and other materials in direct contact with the photographs and papers are archival.
- Plastic sheets in an acid-free binder are an easy way to be able to see prints while trying to keep them preserved. However, you’ll want to make sure the plastic sheets are made of uncoated polyester, polypropylene, or polyethylene – other plastics may have components or coatings that off-gas and weaken as they deteriorate, damaging photographs and other archival materials. Always avoid something if you see it contains PVC. For this, it is absolutely worth purchasing from a retailer that you trust is accurate when it comes to archival material. I always order mine some place like B&H. They come in a variety of sizes to accommodate anything from slides and negatives, 4x6s to 8x10s.
- Alternatively they also make archival albums where you can slip the photos in. These are great if you have a lot of photos of the same size but a lot of older family prints came in sizes that were as standard as they are now and so you should find one that makes sense to the size of your images.
- Ok so back to the first point…this means NO glue or tape directly touching prints when you are doing something with them. Sorry scrapbook lovers, but it might be time for you to redo all of your albums.
- Another possibility is keeping the images in an archival box such as this one from B&H. Boxes present a few issues such as if prints are different sizes when all mixed up together, edges can bend and tear. Plus if humidity, heat, or moisture end up damaging one, they could start sticking to each other, especially color prints. However boxes might be a great idea for older family portraits or snap shots that are made of earlier photographic materials such as tintypes or salted paper prints. In this case I would try to keep images of a similar size in the same box and then separate them with a piece of archival paper that they make to help protect each image.
- In general, if you old images aren’t kept in the above form, it might be time to reorganize all of the old albums/shoe boxes. Stay tuned for the next blog post on organization of old prints.
- Keep them in boxes or albums that match your sense of decor so that you’re more likely to keep them somewhere visible and easily assessable.
Location
- Keep photo boxes and albums out of damp basements, garages, and hot attics.
- Likewise, keep them away from sources of possible leaks and floods, such as pipes, windows, or known roof leaks.
- Instead keep them in a room that is usually temperature controlled and dry.
- Don’t hang framed prints on walls in direct sun, or that gets a ton of sun throughout the day. Not as bad, but try not to keep books and albums on shelves without direct sun as well (in this case it’s the heat vs the framed images have to do with sun exposure).
- Obviously cool, dark, dry place is ideal for these but the reality is that out of site is out of mind, and why keep them in a place you may never take them out and look through. Instead, ignore a photo conservator a bit and place them somewhere that you and your family can look through every so often.
4. Handling
Ok so now we know there are million things that can ruin prints for life so I mean can we/should we even ever touch them/look at them/ enjoy them?!?!?! Don’t worry. The answer is yes, and of course you should. The whole point of this activity is so that you and your family can cherish these for years to come and that means you should feel encouraged to take them out and look at them from time to time.
With this one, I’m just going to keep it basic. When touching prints, use clean dry hands.
That’s it. You could use clean, white gloves, but let’s be honest. Your house is not a museum. Who has gloves like that just laying around?
Now a few other things that will make this a success:
- Don’t eat, drink or smoke when looking at or handling prints.
- Avoid touching the face of the print when possible and just hold the edges so that you keep fingerprints off of them.
- Remove sharp jewelry or watches that might get caught.
- Be gentle, and just go through the prints or album pages one at a time.
- Take a moment to think about the memories each image presents. For one, this is a great time to pass down stories to kiddos, and for two, it allows you to slow down and be more gentle with them when you do pause.
Ok so we have thoroughly discussed care of old family photos and prints. Next up, how to go about organizing them! Stay tuned for the next post in the series, where we’ll go over exactly how to go from random piles, boxes, and albums all over the place to something much more organized and easily assessable…and if you’ve read all of this and are dying to for more technical details, check out the following great resources on photograph conservation: