This post is part of a two-part series on organizing your family photos. To first understand how to handle and store old prints, check out the first post in the series here.
Where to Start with Organizing Family Photos
These days you’re less and less likely to find scrapbooking groups or people even having actual prints to organize in some fashion. However, if you were born in the 80s or earlier, chances are there are prints collecting somewhere in your home…perhaps in a shoe box, random non-archival albums, stuffed into a folder, melting a little in old frames… and eventually you get to the point where you think, “there must be a better way!”
Yes, there is a much better way to organize your loose prints, but it comes with a series of decisions that you have to make.
I’d also like to start with two caveats.
One, I am a photographer. I started in film and love prints. I find them incredibly important for posterity’s sake but they also bring me so much joy to look over. Because of my background though, I probably am a little more particular with the storage of my prints and negatives, in part because I have A TON of prints (and negatives) that I continue to plan to save. However, I’m going to try to put together this post as if I was guiding someone who isn’t as obsessive with all the things and keep my photo conservator hat in check.
Two, my hope is not to overwhelm you with this task, but the truth is, it can be daunting. Going through family memories can be mentally taxing. If possible, focus on the organizing part as much as possible and tell yourself you’ll get back and reminisce once everything is done so that you can move faster. This can easily turn into a time suck if you let it (or you are like me and are totally fine with that).
Step 1: Gathering all photos
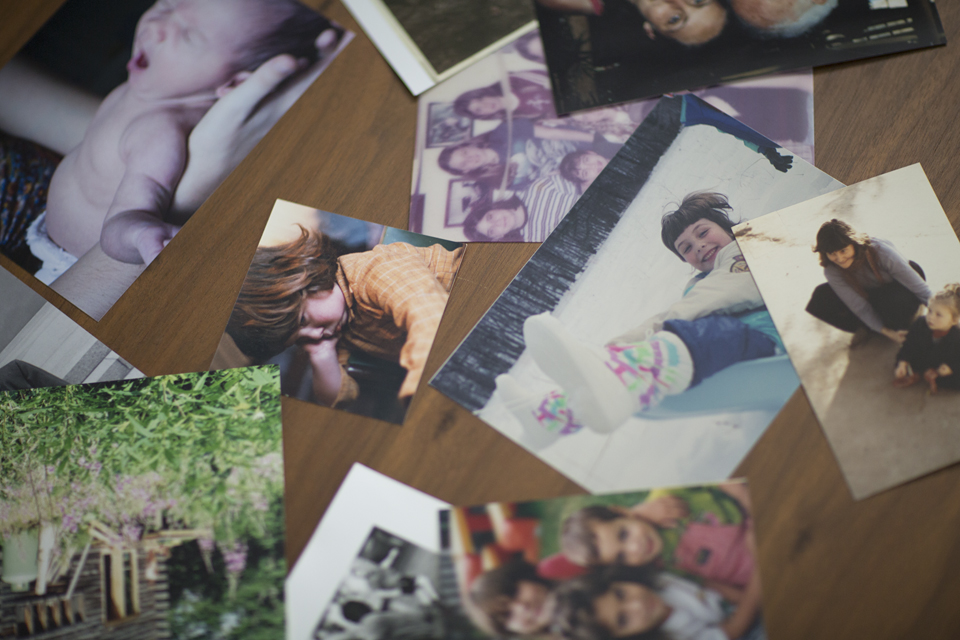
The first step to any print collection organizing is gathering all prints into one place. I’m later going to suggest that this entire activity be done in one day but let’s be real for a minute and recognize that this might have to a multi-day project because life! Hopefully you have a table that you can clear off and bring all albums, old frames that you are ready to switch out, boxes, and any other piles of photos that you can find.
Ok, first decision, if your photos are in an album already but none of the materials used to make the album are archival–construction paper, glue, tape, stickers (scrapbookers, I’m talking to you)–and/nor the album itself is made of archival materials, you now need to decide if you want to try to save the images and take them out of the old album.
Prints, especially color prints, are pretty susceptible to the elements and so just like we are going to move photos from a shoebox to an archival print box, if your prints are sandwiched in between materials that will eventually break them down, now is the time to decide if you want to take the images out in order to be re-organize everything. My professional opinion is yes, it’s worth it, and most definitely if it’s going to be something easy like just taking them out of “peel and stick” albums.
The only time when I would probably keep the images in the album that they are in is that if it’s a really old album, like from when your grandparents were little and everything is delicate. In that case, I’d try to keep the album in archival conditions (see previous post) and just be extra careful with it. The good news is that if they images are all black and white, chances are they will hold up much better than had they been color prints.
If your prints are already in archival albums, you still want to go through them in the sorting process below so don’t just assume the work on those is done.
Step 2: Sorting
The second step in organizing family prints, which is also decision #2, is to decide on about 5-8 categories that you’d like to separate all photos into. This is in part determined by the number of prints that you have from different stages of your life and where you are in life. Only you can decide what categories make the most sense for you but in general, start with a pile of what I like to call “Family History” prints which are any old photos from your parent’s lives or older, and then break the rest of the piles into different life stages.
If you are married or in a long-term partnership, and aren’t worry about it, just combine both of your prints into the same categories so that things go faster. Here are some ideas on your categories:
Sample 1
- Family History (all old family prints)
- Baby through middle school years (of just you or you and your partner/spouse)
- High school through college years or your first jobs
- Post-college or early job through pre-wedding for people who dated a long time before getting married
- Pre-babies (if after getting married you waited a while before having children)
- Growing family, your baby/ies through childhood
- As a family, your baby/ies childhood-high school
- Empty nest times/adventures
Sample 2
- Family History
- Baby through childhood (maybe you have a big family and there are a ton of childhood photos of you)
- Middle school & high school
- College & post-college years
- Long-time partner and/or other significant milestones
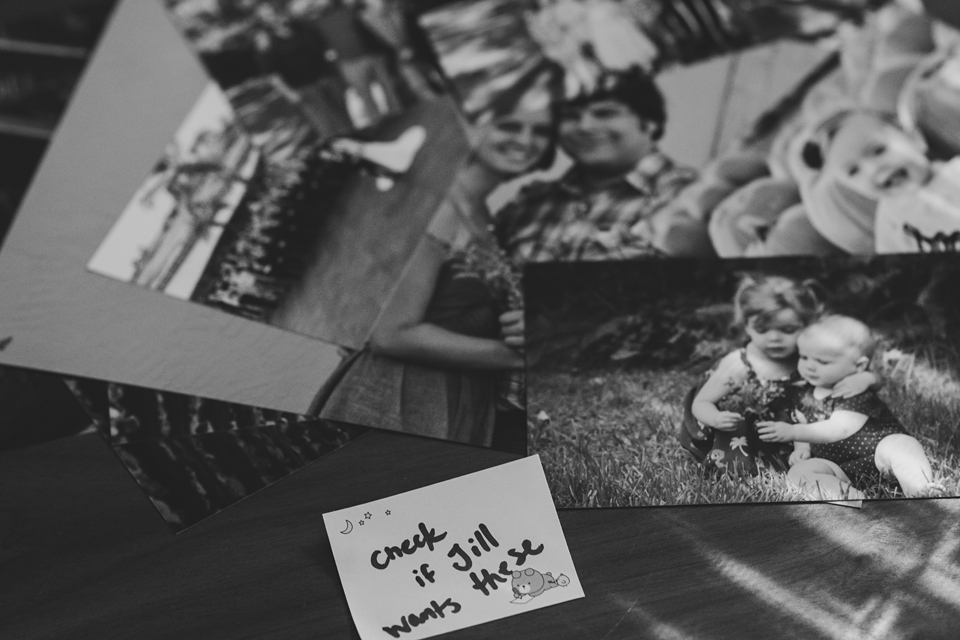
Ok, once you decide on your categories, it’s time to sort all of your prints. Now, this next point is important. Throw out any photos that really aren’t worth keeping. This means ones that are for example blurry, unflattering, have no good story behind them, maybe are of an ex that you’d rather not keep anymore, are duplicates (of course check if anyone would like you to mail any copies that they are in as well), don’t really pertain to you anymore, or too stuck to the photo on top of them to save.
Does this mean get rid of any images without people in them, no. Perhaps you have one of the outside of your first apartment that you think might be worth sharing with kids or grandkids later in life.
But do tap into your inner Marie Kondo with this task and try to move quick, based on your gut instinct. Does this print spark joy? Or more accurately, a memory that is meaningful in your life history? If it’s sparking too much memory, put in the right pile and MOVE ON. Again, you can reminisce later, I promise.
Step 3: Boxes, Albums, or Both
Once you have all your prints separated out into your categories, it’s now time to make decision #3 of how to store and display them. The options are archival print boxes, archival albums, or a combination of both. Yes, they do need to be made of archival materials, which means acid free albums or boxes and plastic sheets that are made of uncoated polyester, polypropylene, or polyethylene. (See more on this in the first blog on old print handling.) Here are my thoughts on each of these:
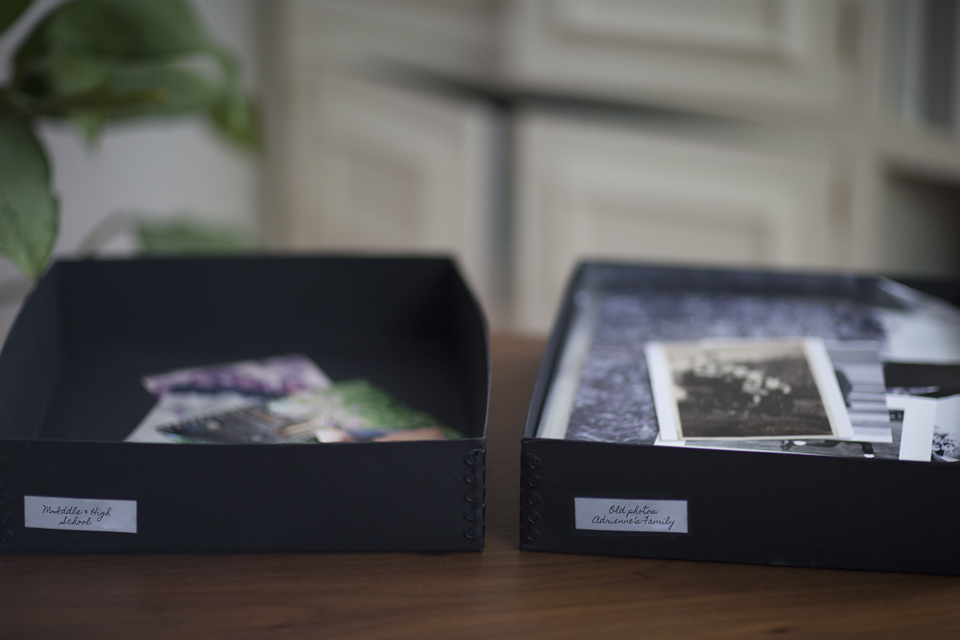
Archival Boxes
Pros: You can be done organizing in no time, just put the prints in the labeled boxes (you may end up with more than one box in each category, depending on the number of images you have, and that’s ok) and you’re done. If you’re not super picky, you don’t need to even put the images in any kind of order. They are already in the broad-based categorical timeline.
Also, boxes are helpful if you have a variety of sizes with your prints, especially of the older generations. I’d recommend using different size boxes to separate large prints from 4×6 prints though so that edges of the prints don’t bend or get damaged when all together.
Cons: Much harder to include notes about images so that you can remind yourself or others who is in the photo and when it was taken. In general we are less and less good about preserving those kinds of things because often that is done for us with our digital images. They do make pens that have apparently archival inks so that you can safely write on the backs of images but I’ve never tried them. You could also sit there and organize prints with little divider tabs and include notes on the tabs or just write notes on the under part of the lid of certain things that you recognize throughout the batch but in general, if you like notes with images, boxes may not be for you.
If your storage conditions aren’t ideal (dry, cool, etc), you might end up with a case where multiple images end up getting stuck to each other so it’s important to keep these boxes away from humidity ( I know, good luck when living in Florida).
These are little harder to display in a way that keeps grubby hands from leaving prints and oils on images when you are taking them out and passing them around. (Which is an activity you absolutely should do from time to time, especially if you have kiddos.)
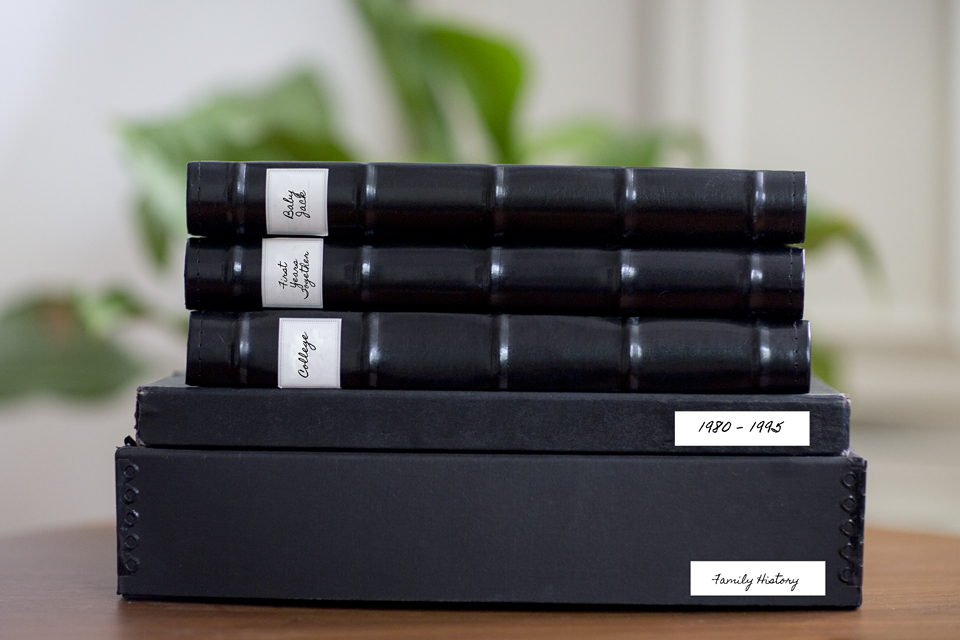
Archival Albums
Pros: These are usually made with easy sleeves where you just slide in the prints and can therefore go pretty quick (although not as quick as the boxes). Plus the prints then are individual set in and if one happens to get stuck or damaged, it won’t necessarily ruin the rest of the images in there.
These usually come with space to write next to the images so that you don’t have write on the image itself but can still preserve important details about the images, like date, people in it, etc.
Albums are a super convenient way to look through old photos with others and not have to worry as much about how clean people’s hands are. (Ideally they still have clean hands but you know how it goes.) Plus, the format makes it easy for people to flip through at their own speed.
Albums make finding a certain image much easier than trying to shift through images in a box.
Cons: These can be very tricky to store images that are multiple sizes. My albums are the ones that only fit 4×6 or 5×7 prints and so sometimes if I have a bigger print that I want to include in a certain album, I’ll carefully unstick the plastic where usually 2-3 prints fit into and just make a big enough space for the larger print. It’s doesn’t allow for the print to be nicely tucked in without moving around, but it’s how I make it work.
Depending on the size of a box, you may be able to fit more images in a box than an album and then have to have way more shelf space if everything is in albums.
Combination of Both
Pros: Obviously you get the best of both worlds with this option. My recommendation, if you choose this option, is that while you are sorting in Step #2, go through each category and pull out all of your favorites/most meaningful images. Put those in an album for easy display and keep the rest in that category’s box.
Cons: Requires a little extra time with sorting and up-keep (as you add prints to the later categories throughout life, you’ll possibly need to re-sort what goes into an album versus a box as you go along).
That’s it! You’re done! (I say this knowing full well how long it took, heehee.)
Keys For Success
Do not give yourself a hard time about this task. It does take time but you can do it with help from a few of these reminders:
- Schedule time to get this done, like literally block it off in your calendar so that you have no excuses.
- If at all possible, work to try to tackle all of this in one day. I know that’s a lot of time to block off but think of how happy you will feel when your photos are finally organized and all in one place!
- To help with the above tip, if you have kids, get someone to watch them or be in charge of them while you work on this. This will take way too long, with too many interruptions, if you also are watching your kids at the same time (unless they are teenagers and want nothing to do with hanging out with you anyway.)
- Prepare yourself that this might be mentally taxing. Seeing old memories of loved ones that are possible gone now or a different time in your life can be heavy. Go into the task knowing that might happen but that your goal is to work quickly and that you’ll stop and enjoy the memories when you are done.
- Again, go with your gut to move quit. “Yes, keep. Yes, keep. No, toss. Yes, keep.”
- When in doubt about throwing something out, see if someone else wants them, but to move quicker just put them in a different pile and call that person later when things are done so you don’t stop what you are doing. (I know you’ll want the excuse for a break but just keep going!)
- Make sure you have clean and dry hands while you work, and keep food and drinks away from where you are working.
Be Sure To Display
Last and most important thing: Keep your boxes and/or albums in place that you will see and use. If you decided to do a combo of boxes and albums, then feel free to tuck the boxes away in a place that is dry and cool and out of the sunny side of a room (in general try to do that with those on display too but definitely do that with the ones that are tucked away).
Photos should be seen and enjoyed so make sure that you store them in away that you can do that easily with your family and friends. Do this with any of your photo books, even the ones printed digitally.
Miscellaneous
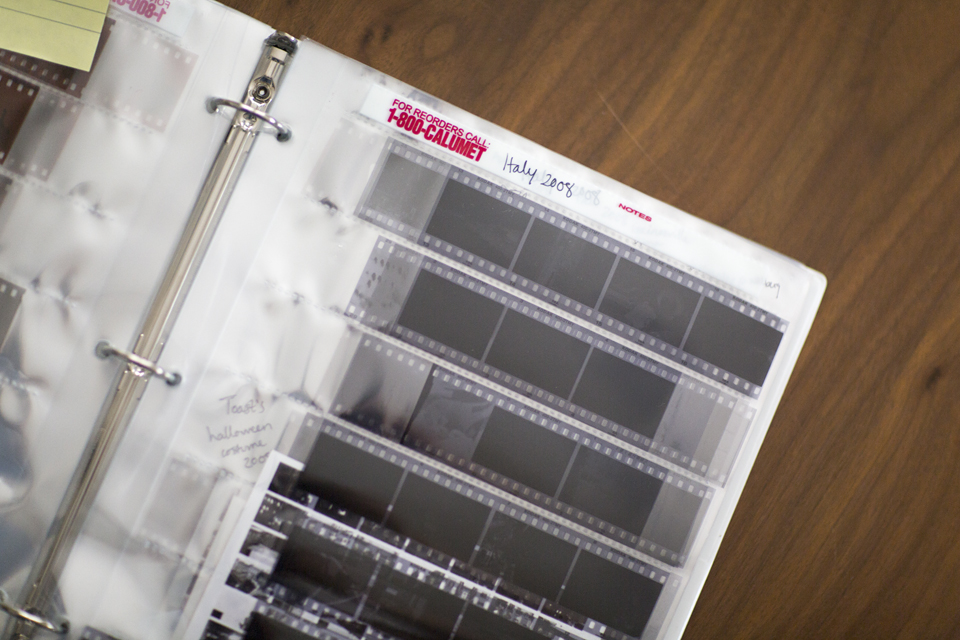
Final side note because I know this probably won’t pertain to most of you…If you have negatives from old photographs, and you want to keep them, the best way to store them is in archival slide sheet protectors. I order ones from B&H that have a little area at the top where I can write the year and what was on the roll so that I don’t have to hold them to the light to figure out what the heck is in them.